Omnichannel Routing to preferred agent
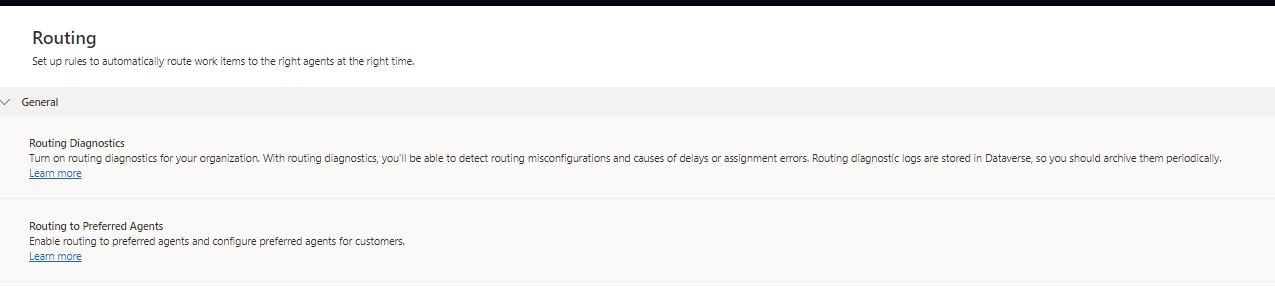
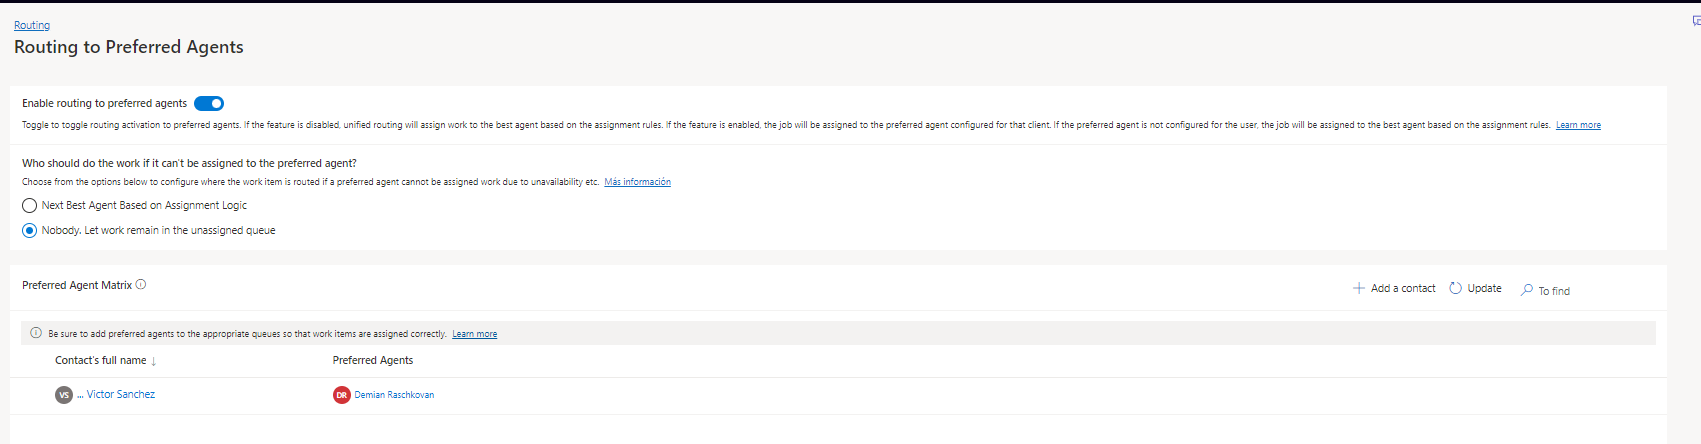
Imagine you have a customer, and they say to you, it turns out we have a problem with Omnichannel routing. Our business needs a contact to always be routed to the same agent, and this is because it’s their bank manager and they always need to talk to them. For this, Microsoft has come out with a solution which is “Routing to Preferred Agents”. This is found under Routing and Routing to preferred agents. Here you can enable a check that allows such routing, and you can choose “Who should do the work if the preferred agent cannot be assigned?“.
Below this, a matrix appears, in which for each contact you have in your environment, you can assign an agent to it.

But this can be very costly in case you have 1 million contacts within your environment.
And what solution do we have for this?
Now you may ask, OK, but how can we make this simple to do?
I’m going to give you a trick in a few steps so that you can perform this configuration. For this, we’re going to have to make a “preconfiguration inside Dataverse”. This preconfiguration is that inside the contact itself, we would have to create a lookup field or use one already predefined with the preferred agent.
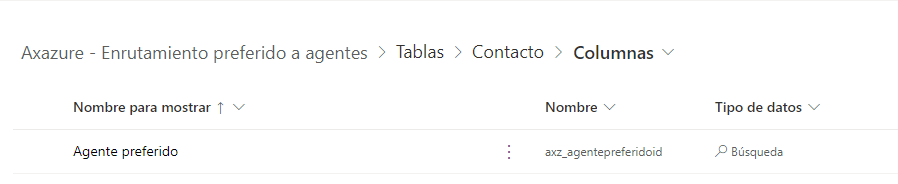
Once we have all the contacts with the preferred agent filled in as a field we will do the following within Omnichannel:
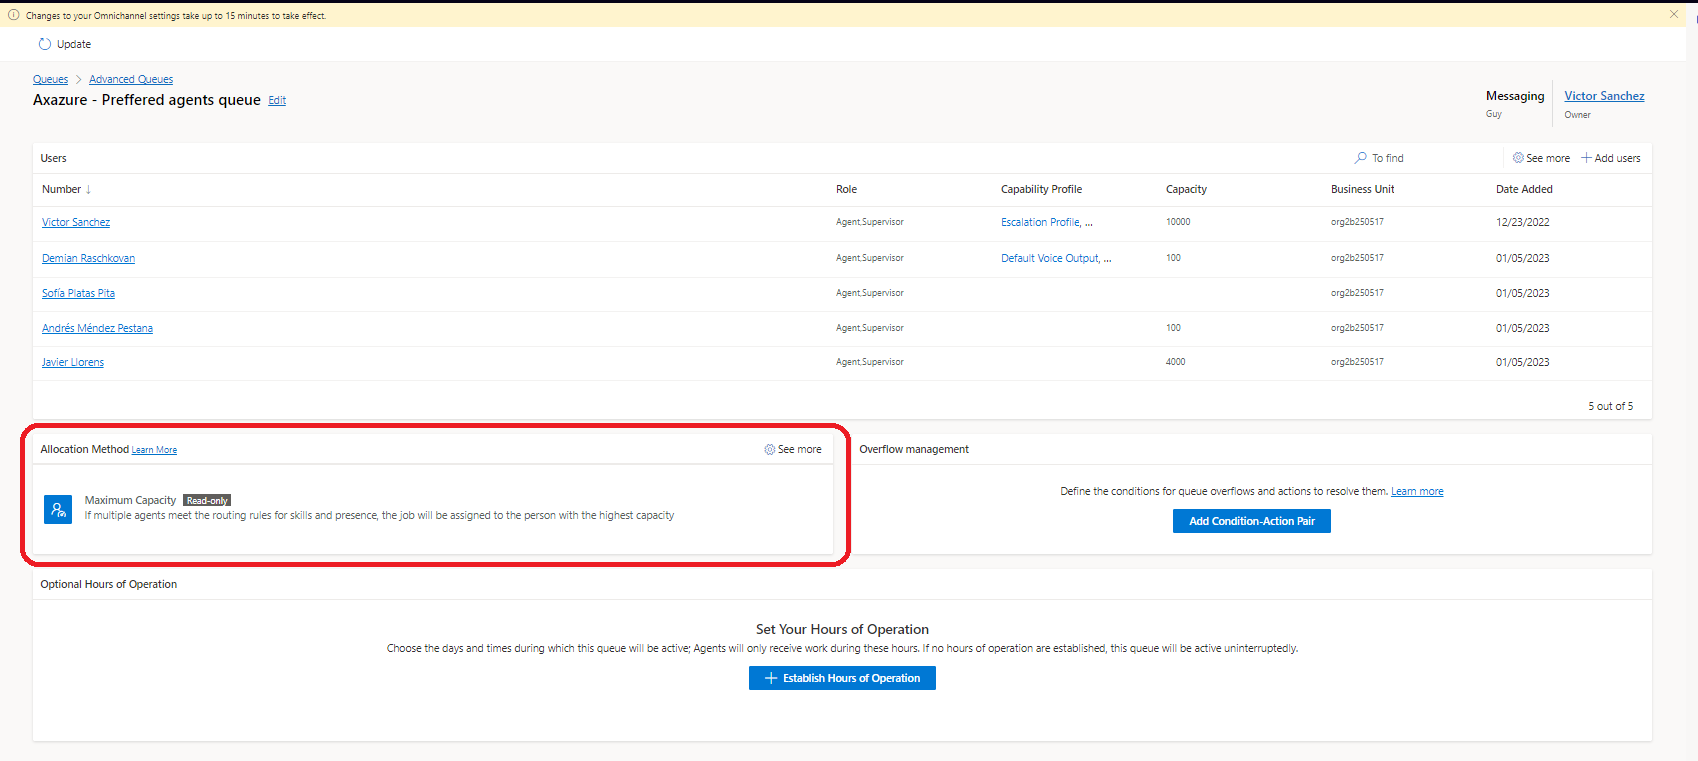
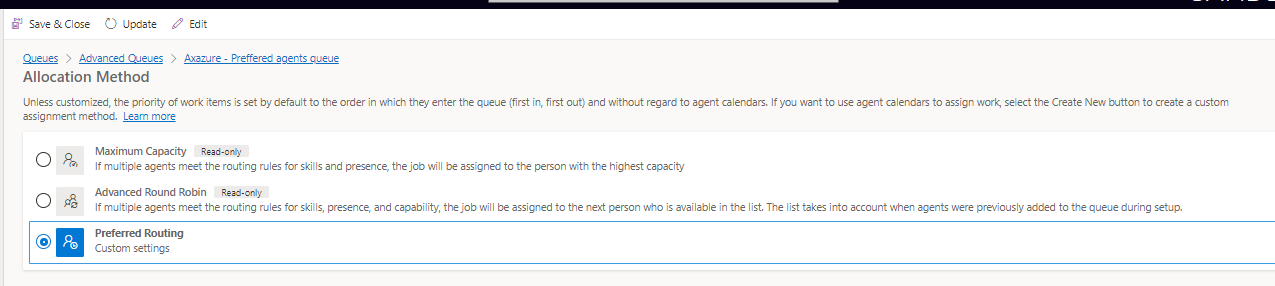
- We go to the queue where we will have all the necessary agents to whom the conversations have to be routed.
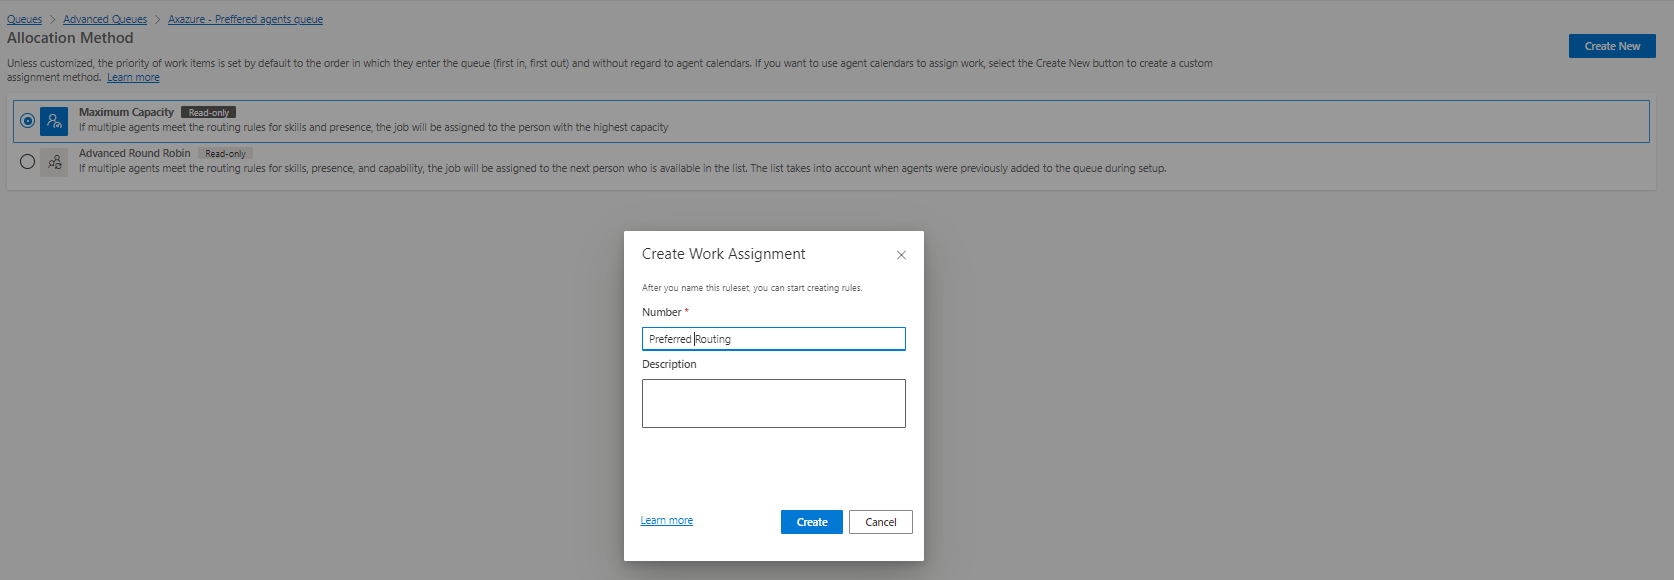
- Within the assignment method, click on “See more”.
- Create a new assignment method with the name you need.
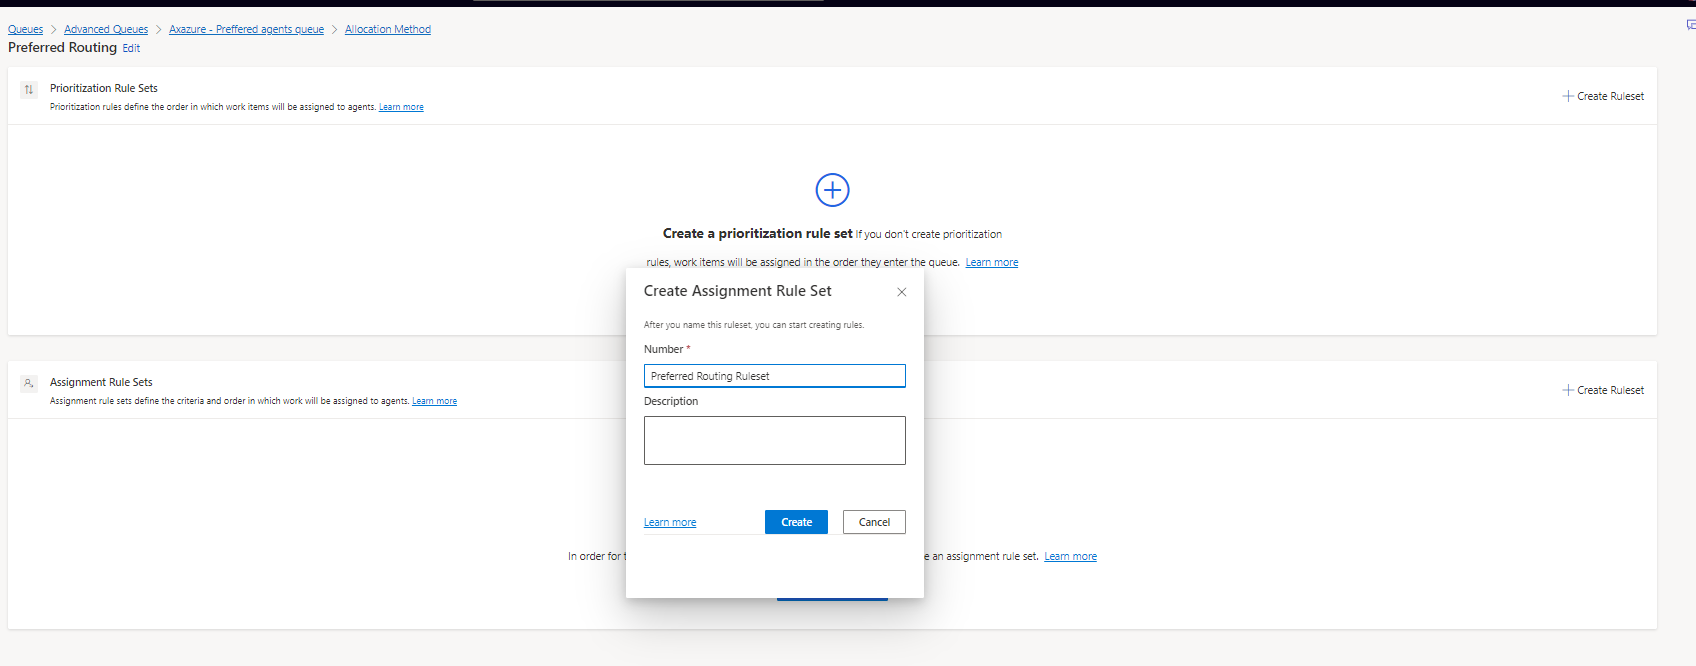
- Within the assignment rules, let’s create a new set of rules with the name you need.
- We create a new rule with the required name.
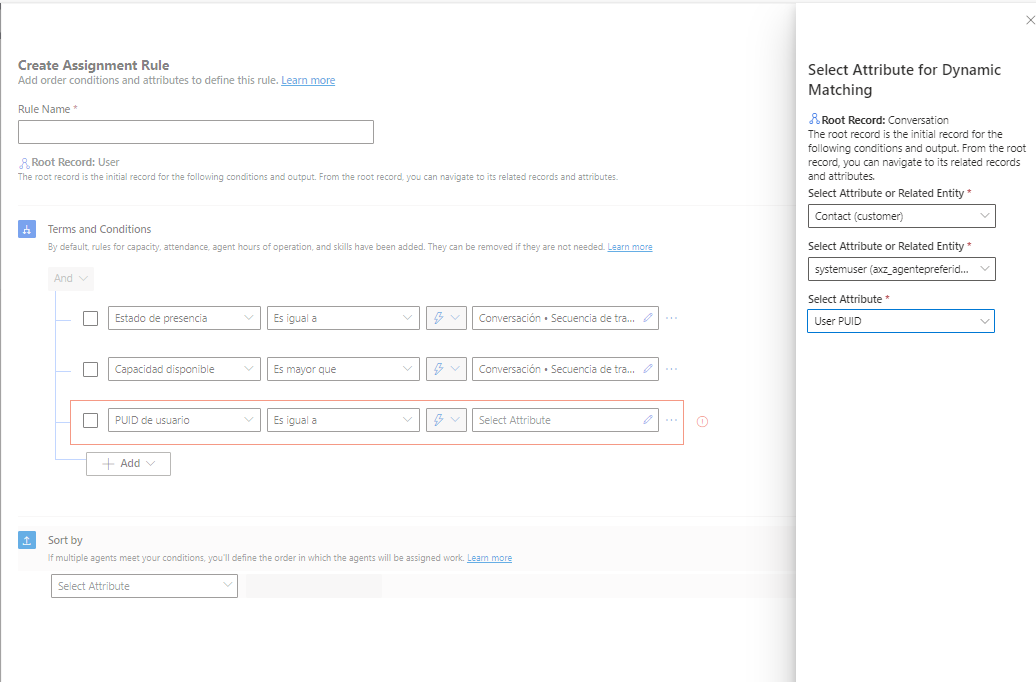
- Within the conditions, we will see different attributes that we can select.
- The first field to select will be the user PUID.
- We must change instead of “Static value” to “Dynamic match”.
- In the attribute we select “Contact (customer)” -> These are the fields of the conversation
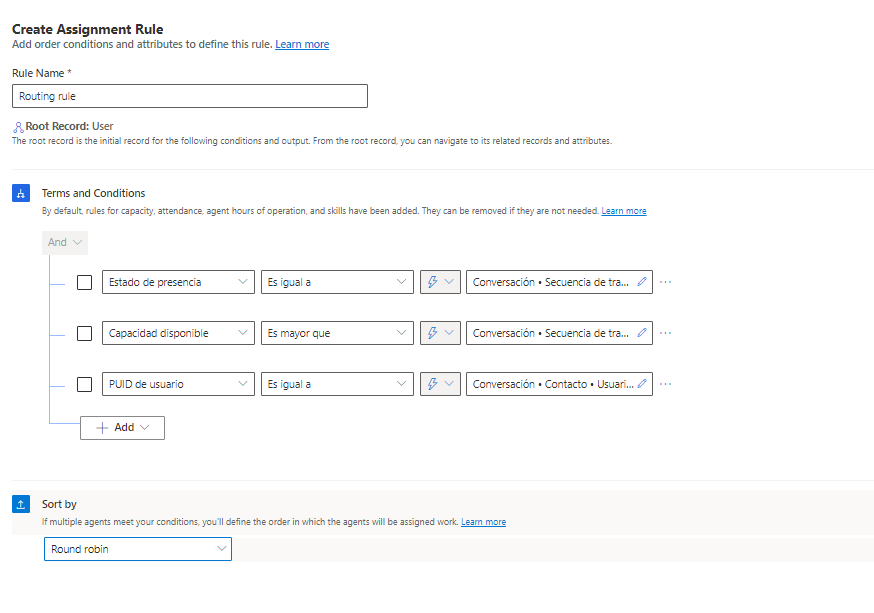
- We select the new attribute “Related agent”.
- Save and close
- We can select some order attribute like Round Robin or Competence or whatever we need.
I enclose the steps in pictures:
Summary
Once the above mentioned steps are done, the contacts that have been assigned a preferred agent will be routed, those that don’t, will be entered by the assignment rules that are in the workstream.
This allows us to have much more agility, until Microsoft introduces something more dynamic than what we have now.
As always, if you have any questions or whatever, contact me at me@victorsolaya.com or on twitter @victorsolaya.